 On this page we'll show you how to do some watercolour paint designs that are both easy to do, and which produce pleasing designs.
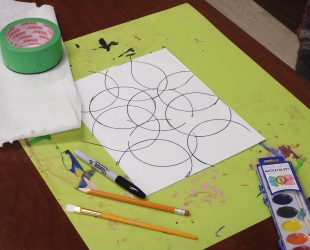
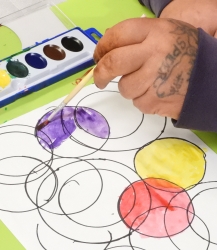
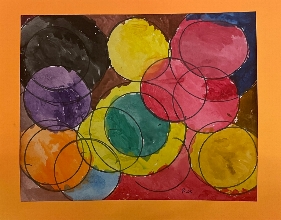
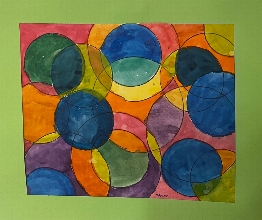
The supplies you'll need include watercolour paper taped (on the back) to a plastic backing mat, tape, large rolls of tape or other circular objects to trace circles with, black Sharpies, inexpensive watercolours, wide brushes, and paper towels and containers of water for washing brushes. We also used simple coloured cardboard frames to frame the finished art. Begin by tracing circles all over the paper. Ideally they can run off the edge of the paper, filling the page. Alternatively, the circles can be concentrated in the centre. The important part is that the circles should widely overlap, which will allow for interesting colour blends. 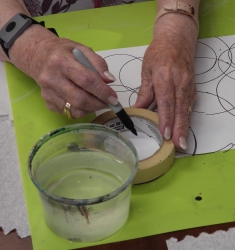
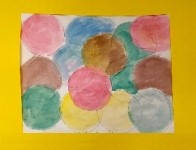
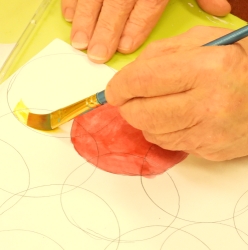
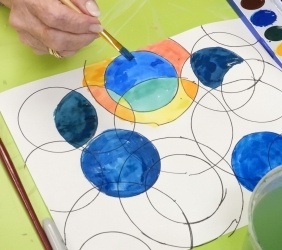
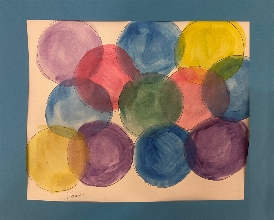
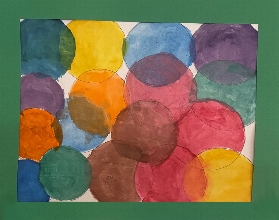
 The next step is to paint each circle with a thin coat of watercolour paint. Let each dry before beginning another; you can add a second coat to make each circle darker if you choose. Try to paint overlapping circles in different colours. The regions where circles overlap will make new colours (blue and yellow make green, for instance). 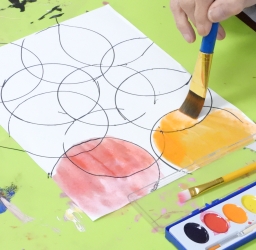
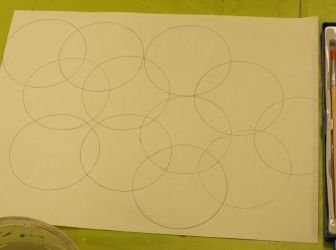
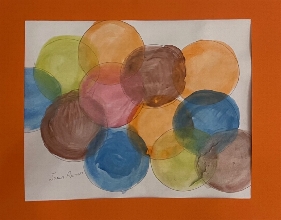
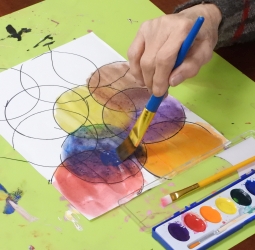 Some people may want to try alternative mathods. Sketching the circles with a pencil and painting each circle with just one coat makes the finished art very amorphous. Painting regions instead of circles, with more than one coat, will make the artwork resemble a stained glass window. 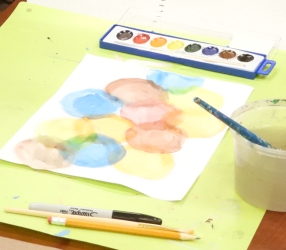
 HTML, graphics & design by Bill Willis 2023 |