On this page we'll show you how to shade with just lines. We'll show you many different techniques, and provide you with some line drawings to print so you can do one yourself. You'll need a pencil, or you can try making one with a black fine pen.
The image of the elephant at the right was drawn first by hand, and then shaded. You can try that if you want. Notice the different patterns used on various parts of the picture. See enlargements by clicking on each; click again to reduce. 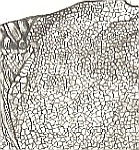
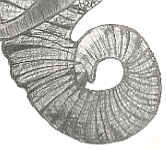 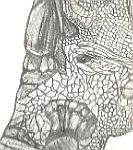
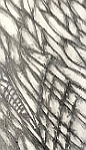 Notice that some of the lines used for shading mimic real skin on an elephant, which is not easy to do. The person who did this is very talented. We'll show you an easier way that will also look very nice. Here are a lot of samples of shading using lines: 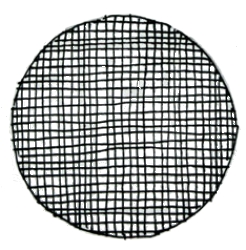
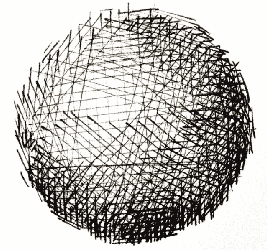 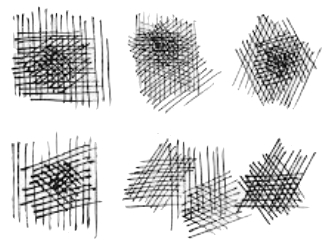
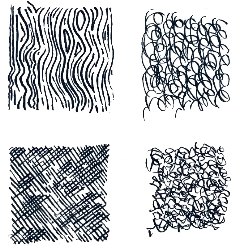
 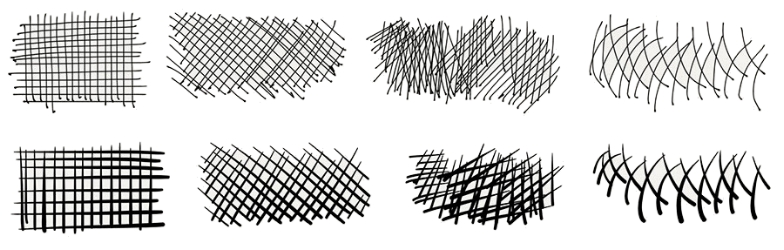 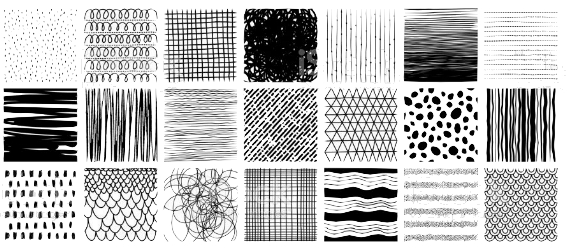
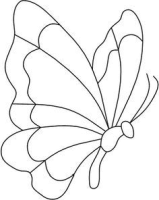
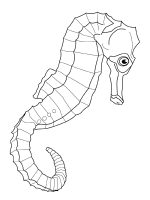
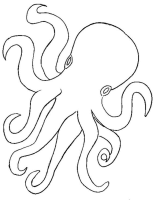
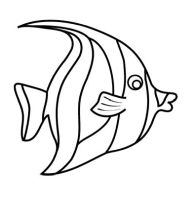
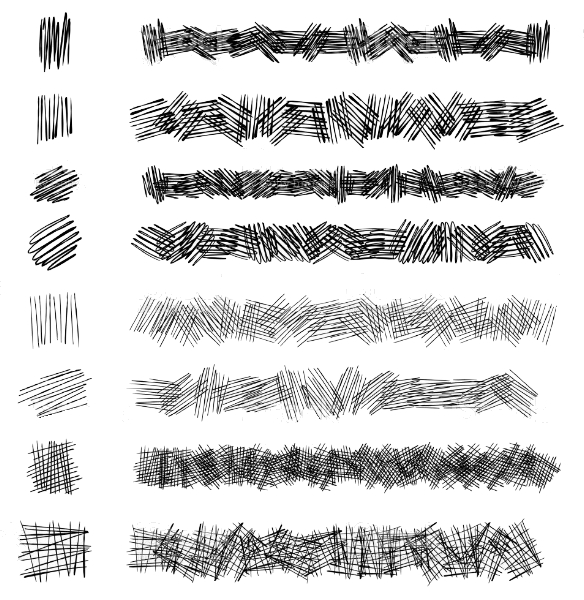 Click on each of these two above to see a large version. Click again to shrink. Lines drawn closer together, or in different directions on top of each other, will make dark areas. Before trying to shade a picture, students should experiment with some of these and find some they like. Here are some line drawings you can print. Click on a drawing to bring up a PDF document.
HTML & design by Bill Willis 2023 |