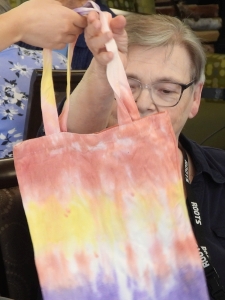
  Tie Dye art is one of those art projects that anyone can do, and that almost always produces beautiful results. We'll be tie dyeing some simple and inexpensive cloth bags.
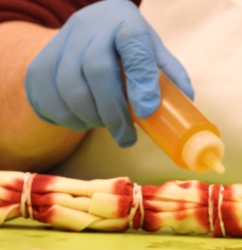
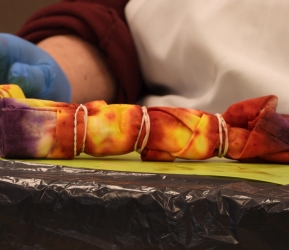
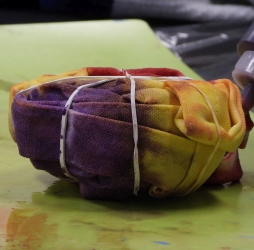
The materials used, in addition to bags and table coverings, are disposable gloves, aprons, elastic bands, and RIT fabric dye. The dye was transferred to squirt bottles to make it easy to apply. RIT dye stains clothing, skin and the floor; care is needed. Experiment first to make sure you can clean the inevitable drips off the floor. The bags are prepared in advance in two different styles. One style is an accordian fold, producing a rectangular shape tied with about four elastic bands. Another style is to take one of these rectangular accordion-folded shapes and roll it into a circle, securing it with more elastics. 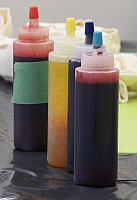 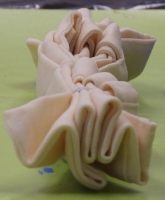 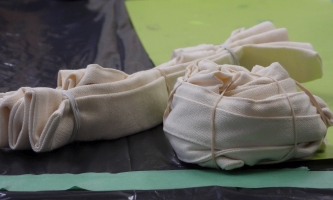
The first step is to wet the tied cloth bags enough to dampen but not soak them. Then you can start applying the dye. Here are some suggestions:
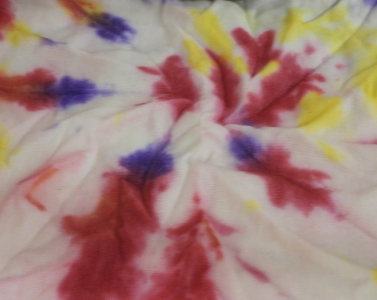
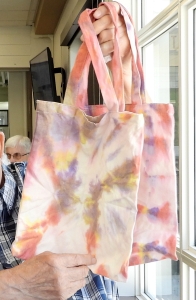
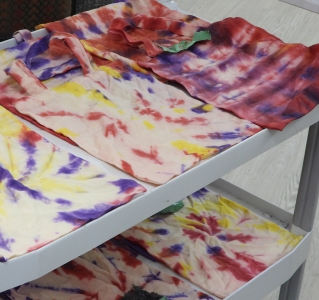
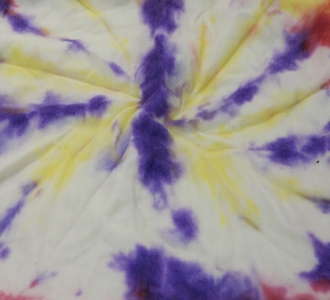
Results 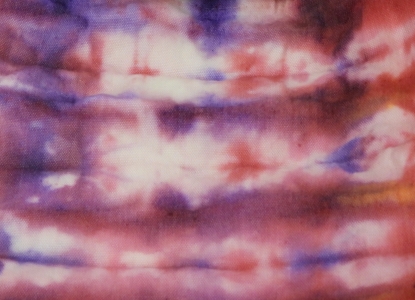
|