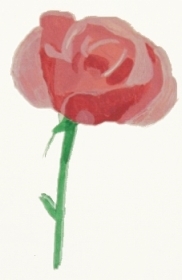
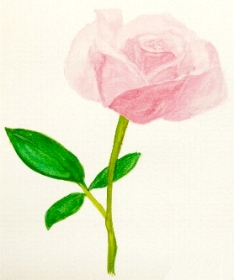
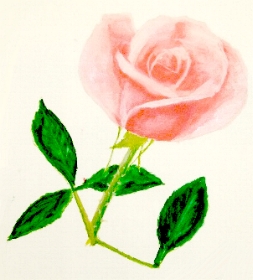
 Watercolours are easy to use, clean up well, and can produce some very beautiful results, even with beginners. While this medium can be used to produce very detailed paintings, with novices it's best to start with something simple. I've obtained very good results with flowers. As with all drawing or painting, students are always amazed at how well their pictures turn out if they are allowed time to work on them. This is especially true for students who profess to have no art talent. Below are some samples of watercolour paintings from students. They range from one grade 1 student, to several grade 10 students who claimed they had no talent at all, to a grade 12 student who was very talented, but who had never tried watercolours. 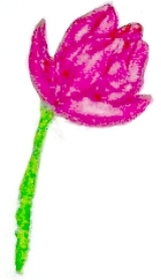
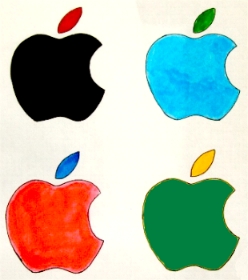 You can pick any subject for a watercolour painting, but as mentioned, beginners should keep their subjects simple. Final images can sometimes be enhanced with fine coloured markers after the painting has dried. You can pick any subject for a watercolour painting, but as mentioned, beginners should keep their subjects simple. Final images can sometimes be enhanced with fine coloured markers after the painting has dried.The biggest challenge to students is waiting for portions of their painting to dry before adding more; colours running into each other can be very disheartening to a beginner (although this technique is at the heart of good watercolour painting). The paper, which should be special watercolour paper, should be on a flat surface and taped down. Students will need a wide assortment of brushes, including some fine pointed ones. Any type of paints will do, even the cheapest ones. |