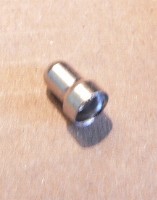
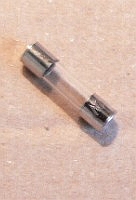
  This very simple motor uses two paperclips, some wire (use test leads with alligator clips if you have them), tape, pliers, a piece of cardboard, a small metal receptacle of some sort, aluminum foil, a hot glue gun, and an older TV. It takes about half an hour to build. The critical part of this motor is the little metal receptacle that the rotor sits on. It must be made of metal that will conduct electricity. You might try the metal thumb clicker on a retractable ball-point pen; we used the tip of a 12 volt recharger plug. Inside the plug was a fuse whose metal ends would also work. See the photos below. 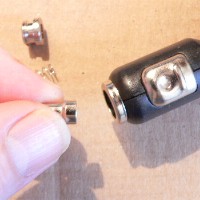
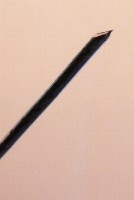
 Start by making the motor stand, using one of the paperclips, by bending it as shown in the photo below left. Then sharpen the tip at the top with the pliers. Make sure the vertical part stands straight up and down. Tape the base to the cardboard. 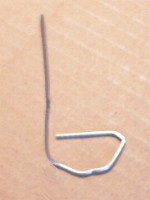
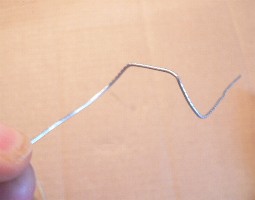
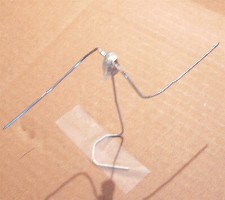
 Bend the other paper clip into an 'S' shape as shown in the first photo below. Then bend the ends down. The two ends need to be pointing in opposite directions. Sharpen both ends with the pliers. 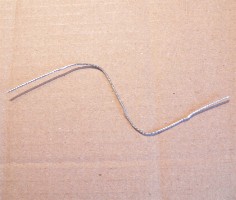
 Now attach the metal cap to the middle of this paper clip using hot glue, as shown below. Make sure the cap is centred, and vertical. This paperclip with the cap in the center is the rotor of the motor. Set the cap onto the (other) paperclip stand and spin it to make sure it rotates freely and easily, without too much wobbling. 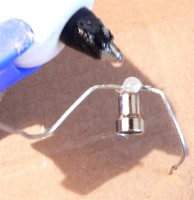
 The final step is to attach the base of the motor (the stand) to a power source ... we're going to use the extra electrons that sit on the screen of a television when it's in use. Cut out a piece of aluminum foil big enough to cover the TV screen, and press it flat to the screen. Attach a wire from this sheet of foil to the base of the motor. 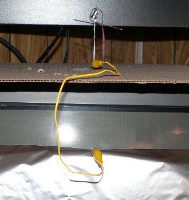
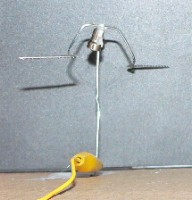 Now turn the TV on. The rotor should start to spin. As it slows down, turn the TV off, then on again. Keep doing this ... if you time it correctly, you can get the rotor spinning quite fast. Here's how it works. The TV screen is a good source of high voltage static electricity; the electrons are deposited there from the 'electron gun' inside that paints the picture. The electrons are collected on the foil, and can move onto the motor via the wire. This build-up of electrons gets concentrated at the ends of the rotor, which are sharp points. This causes the air all around the points of the rotor to become ionized (charged) as well, as the electrons jump off the ends of the rotor into the air. Since the air near the ends of the rotor, and the ends themselves, are now both negatively charged, they repel, forcing the rotor to move away. As long as you keep the motor charged up from the TV, the rotor will continue to give off electrons, and the repelling force from the nearby negatively charged air will continue to push the rotor around and around. |