 A spectroscope is a device that splits a light beam into the different wavelengths contained in the beam. By passing the light from a glowing gas through a thin slit and then causing it to split, you will see images of the slit at all the different wavelengths emitted by the atoms in the gas. This technique can be used to identify substances, since every atom emits light at different wavelengths. 
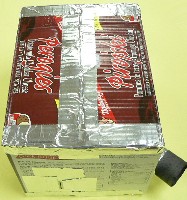
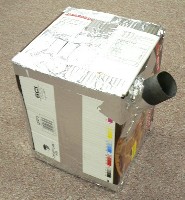
The idea for this project came from the excellent book "Gonzo Gizmos" by Simon Field, which contains a variety of projects in physics and electricity. It can be ordered from his website www.scitoys.com, where you can also find all sorts of scientific devices and materials; we highly recommend it. The spectroscope we will build uses two single-edge razor blades to form the slit. These can be purchased in most hardware stores (they're used for scraping paint). The light will be split by a music CD, which contains many finely etched lines side by side. (A prism would also work, but the construction would be more difficult). We'll view the split light beam through a cardboard tube; all of the pieces will be mounted inside a small box. 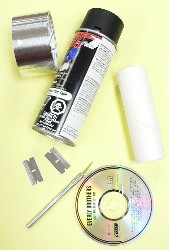 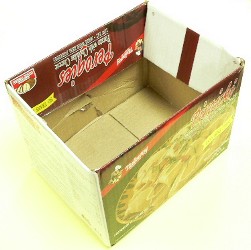 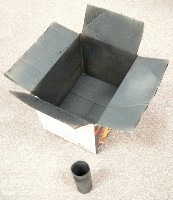 You'll also need some aluminum tape (not duct tape) to seal the box, making it light-tight. (You can also use aluminum foil and tape). A sharp knife will be needed to cut the holes, and some tape is necessary to attach things. A pencil/pen will be used to mark the holes for cutting. We also sprayed the inside of the box and tube with flat black paint to cut down on reflections. First let's locate the hole for the viewing tube. We'll use the CD as a guide, placing it along the bottom edge of the box at the left, and marking an 'X' at the centre. Now trace around the end of the tube, centred on the 'X'. Next, slide the end of the tube about a centimetre to the right and make another circle. Use these two circles to cut out an oval shape. This will allow the tube to enter the box at an angle. 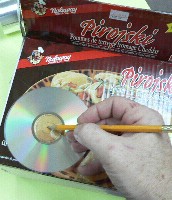  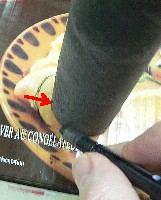 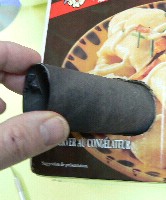 Now turn the box to the left, and once again place the CD along the bottom edge, at the left, and mark an 'X' at the centre. Cut out a 4cm x 1cm slit centred on this 'X'. 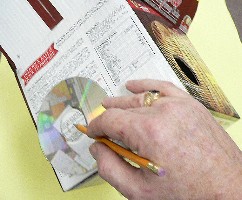
 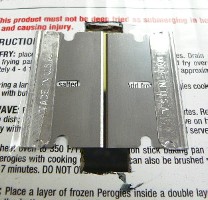 The actual slit that lets light in will be very narrow and perfectly straight, defined by the edges of the two razor blades which you're now going to tape over the opening.
Make the sharp edges nearly touch, leaving a narrow opening that's the same width all the way down. Be sure not to put any tape over this opening between the blades. 
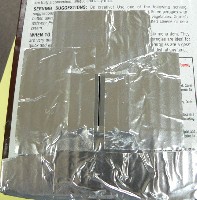
Next, tape the CD to the back wall of the box, with the label side touching the wall. The light entering from the slit needs to hit the centre of one side of the CD, and then reflect into the viewing tube. When testing the spectroscope, we found that we had to open up the box and move the CD slightly to get the image centred properly. This could also be accomplished by changing the angle of the viewing tube. The final step is to seal all cracks and openings with the aluminum tape. The box must be completely light-tight, except for the viewing tube and slit. (If you want to improve the appearance of your spectroscope, you might also spray-paint the entire box ... just be sure not to get any paint in the slit between the razor blades). 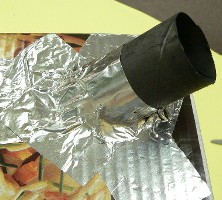
  The spectroscope is now ready to use.
Go on to page two and we'll show you some photographs of light spectra we obtained with our spectroscope. We'll also tell you what a spectroscope is used for. |